Today I'm happy to introduce you to Emily from Not So Idle Hands. Her site is so full of amazingly creative ideas! It is seriously one of my favorite sites! I was so excited when she agreed to share one of her fun ideas with us over here!
•••
•••
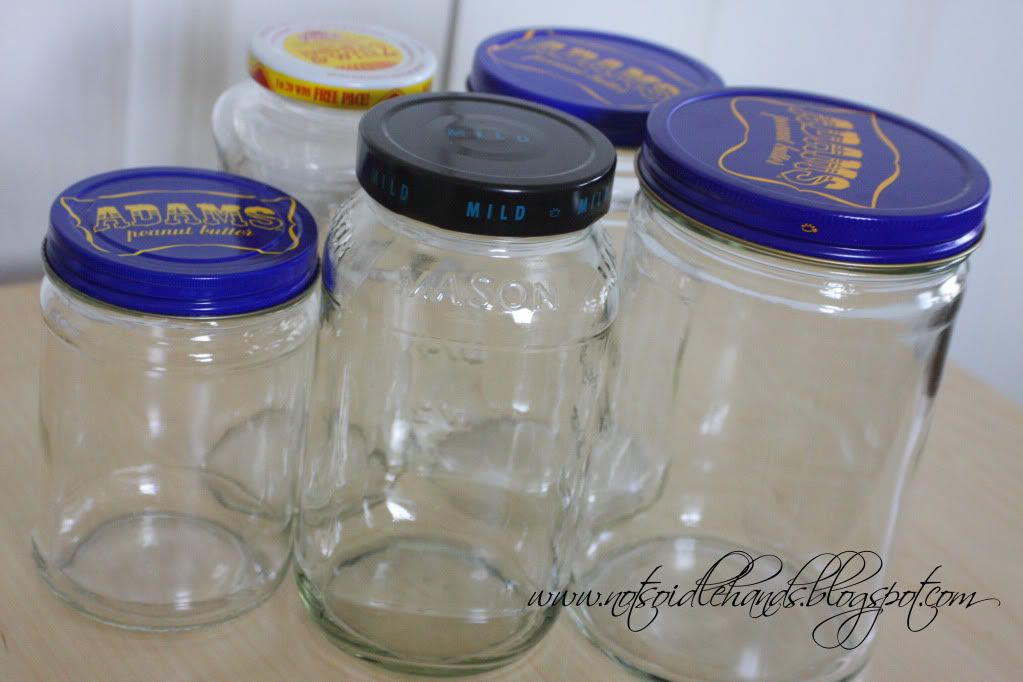
I saw these on Martha and then looked at my OVERFLOWING supply of recycled jars (mostly peanut butter :), and thought "I need to make some of those."
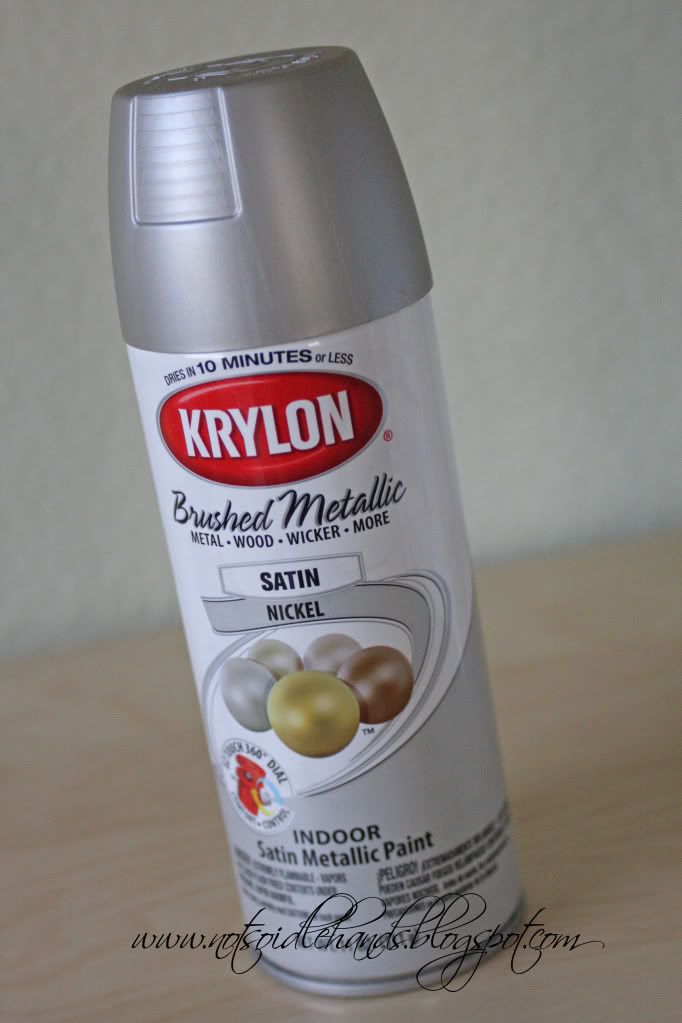
I started by spray painting the lids with my cool "brushed nickel" spray.......but I will definitely NOT be putting these into the dishwasher (hint, hint). I will only be wiping these clean with a damp cloth since I don't know how they would hold up. Also, make sure the paint is only on the outside, so it doesn't touch the food :)
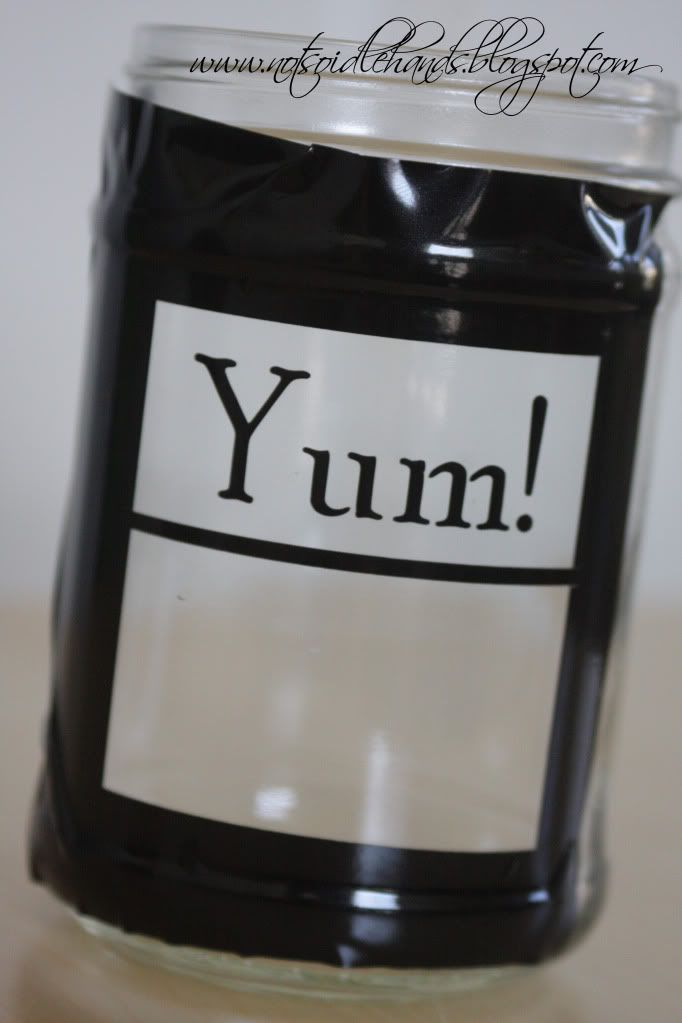
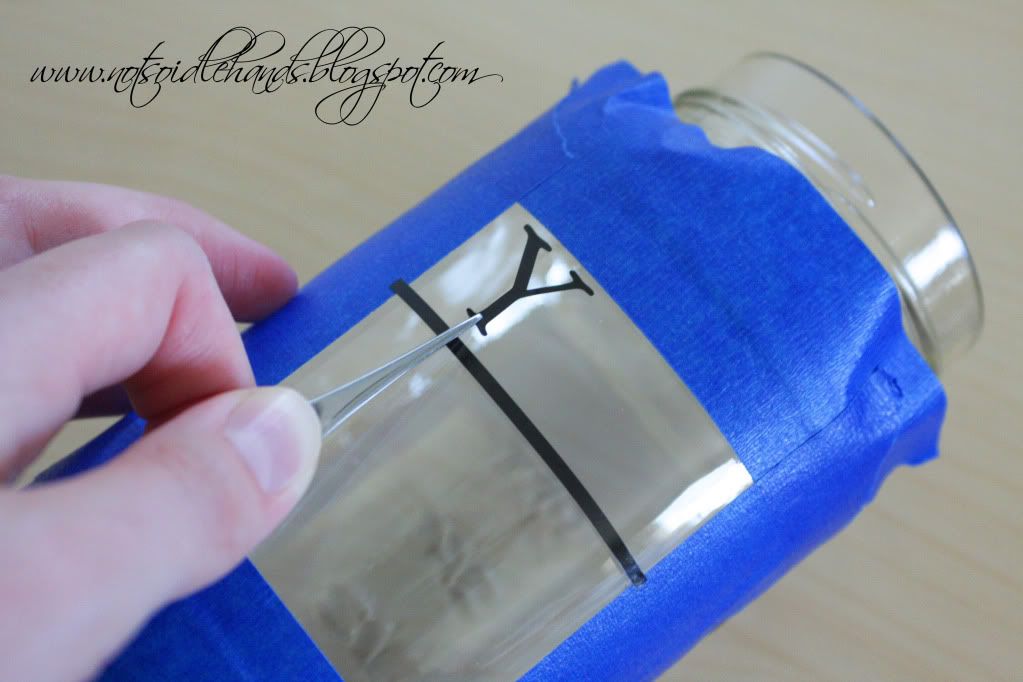
As Martha shows, you can also get some alphabet stickers and blue tape and do it this way. It works great too!
But, whatever way you do it, try to apply the letters with tweezers, so they don't get oils from your fingers and stick nice and tight to the jars.
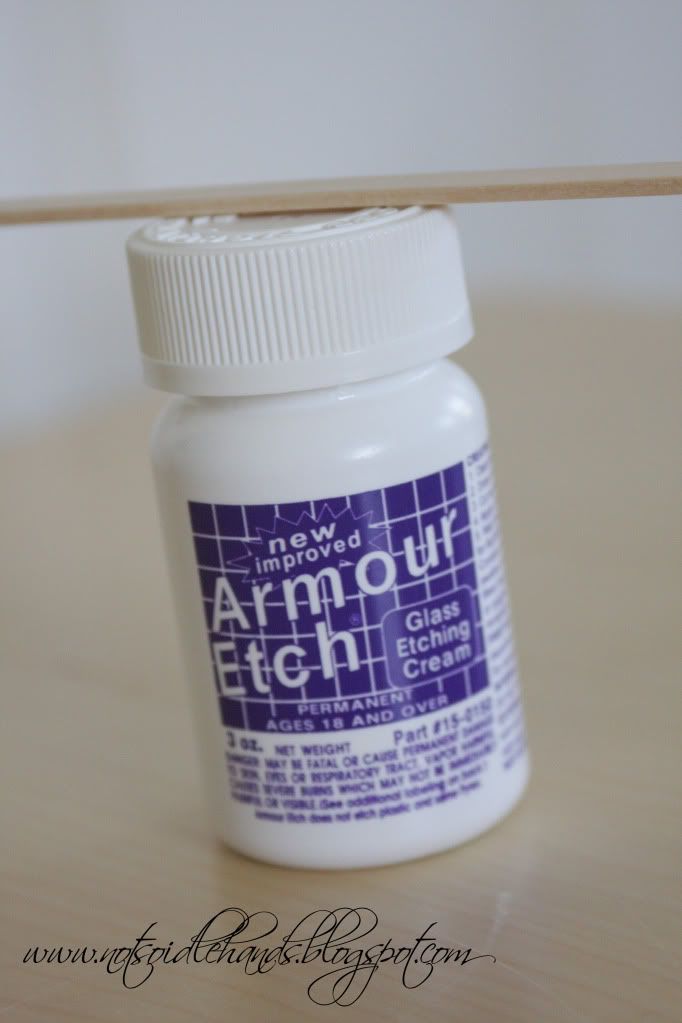
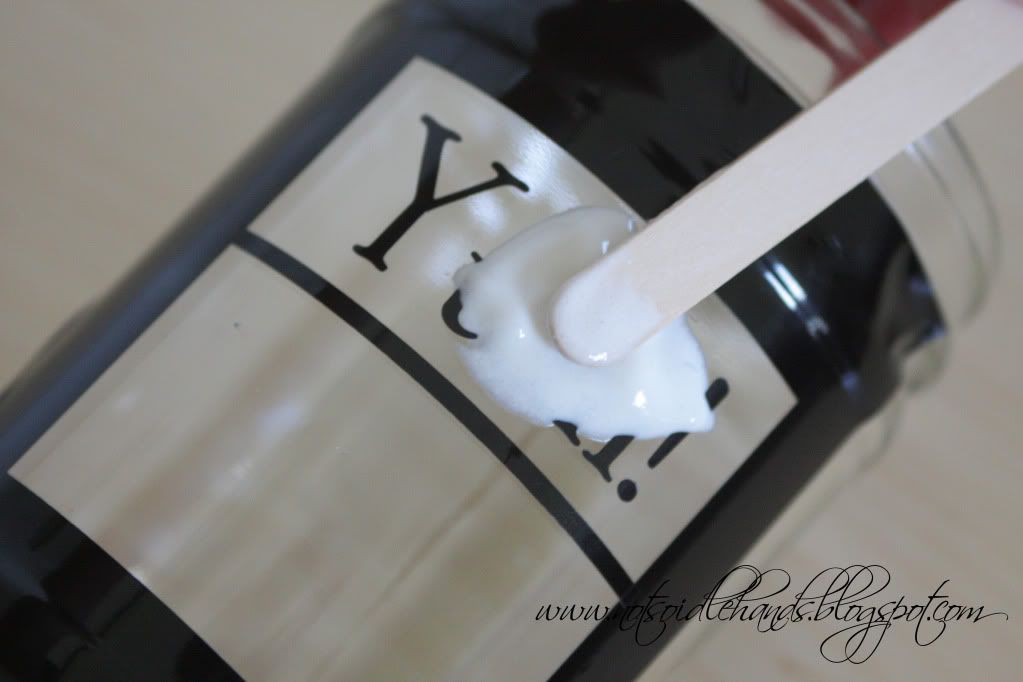
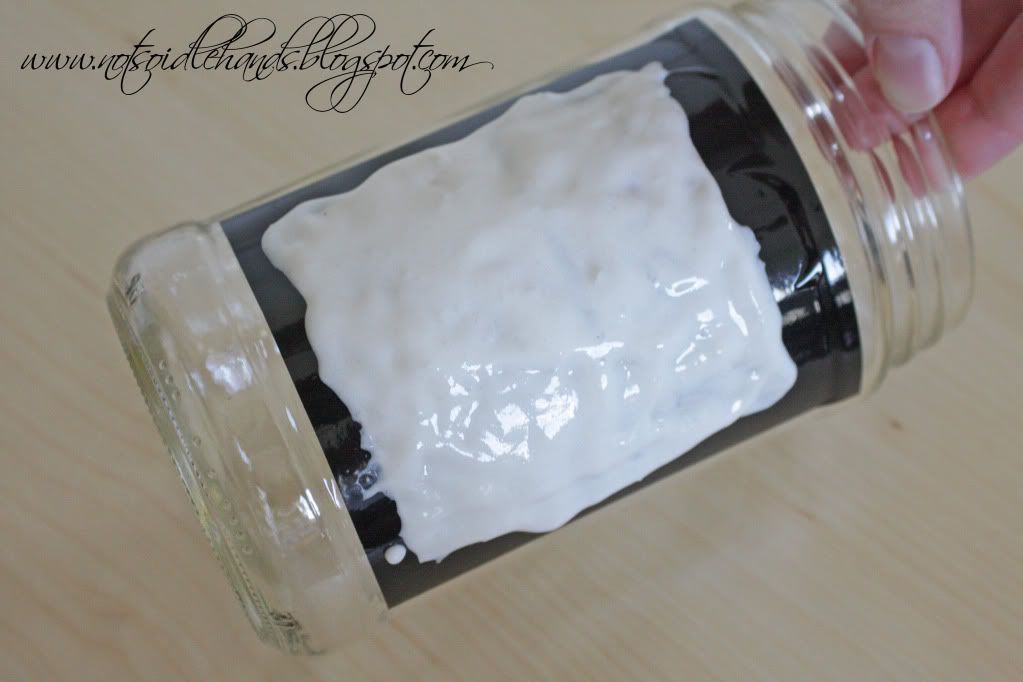
Now get you cute jar of etching cream and a popsicle stick and slather it on, baby.......nice and thick like you are icing a cake!! I've found that a paintbrush just doesn't give the best coverage and you WANT it thick for a good etching.
I wait 5 minutes, then scoop it off the surface, back into the jar (yes, you can re-use this stuff!). Then, I apply a new coat and wait another 5 minutes.
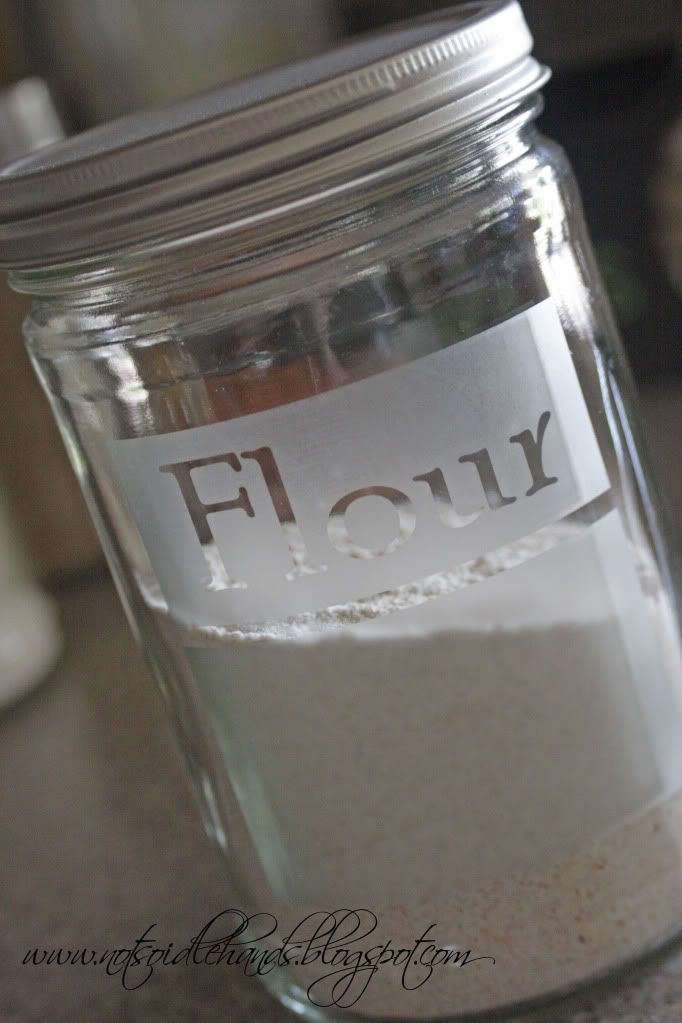
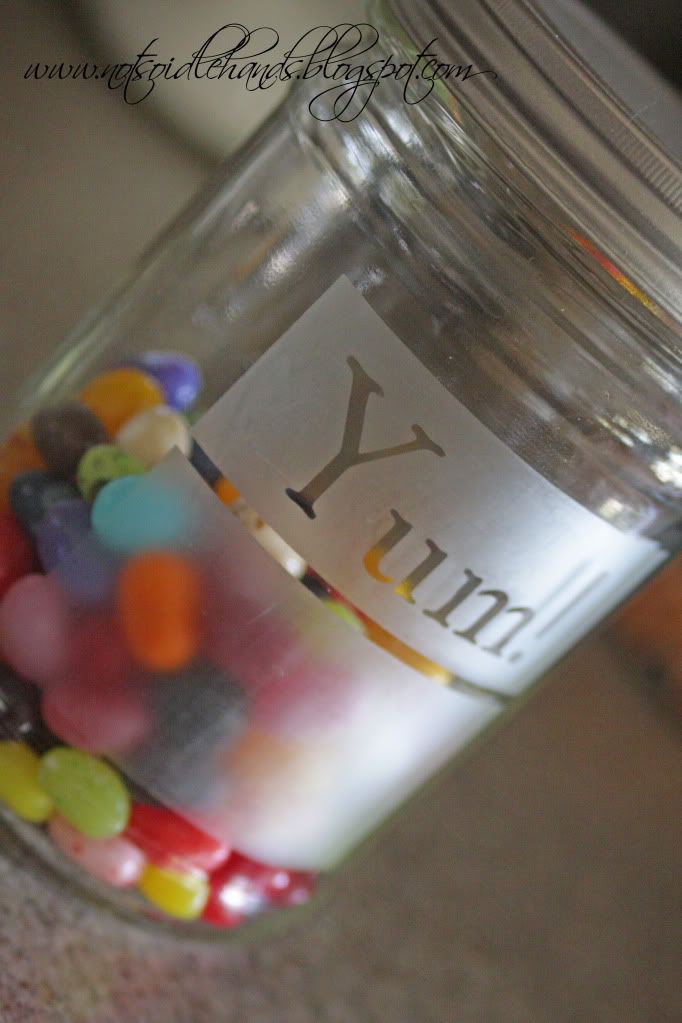
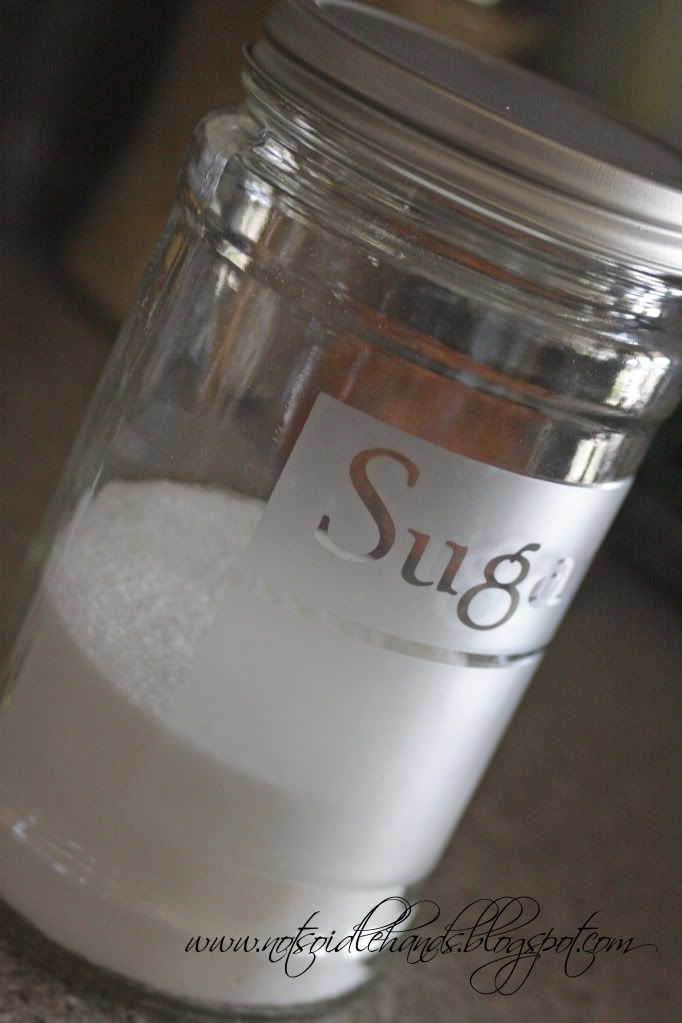
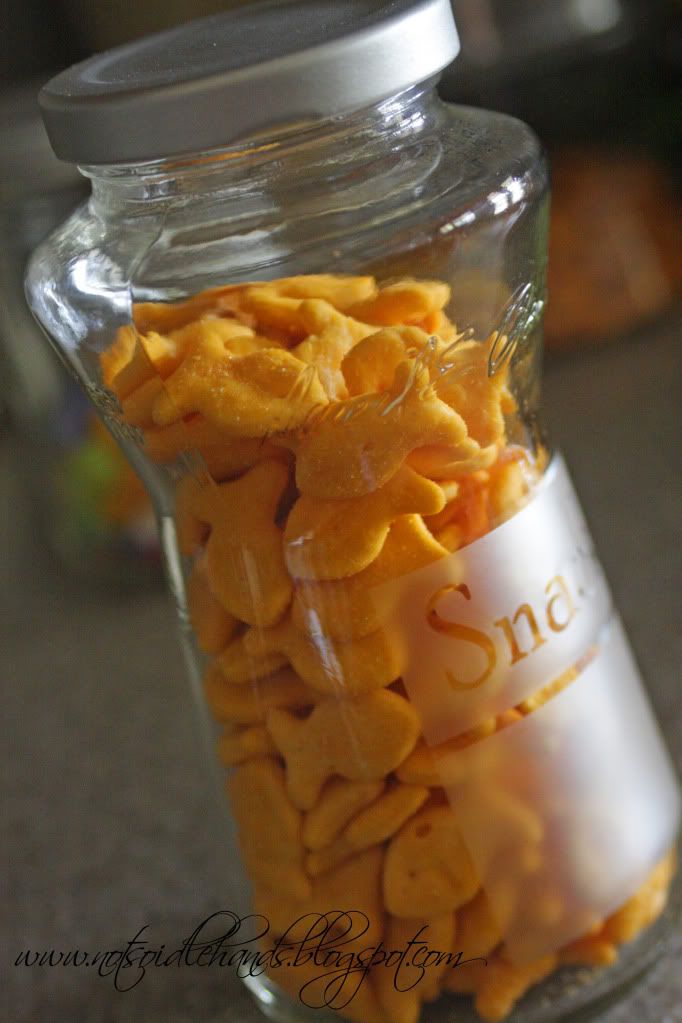
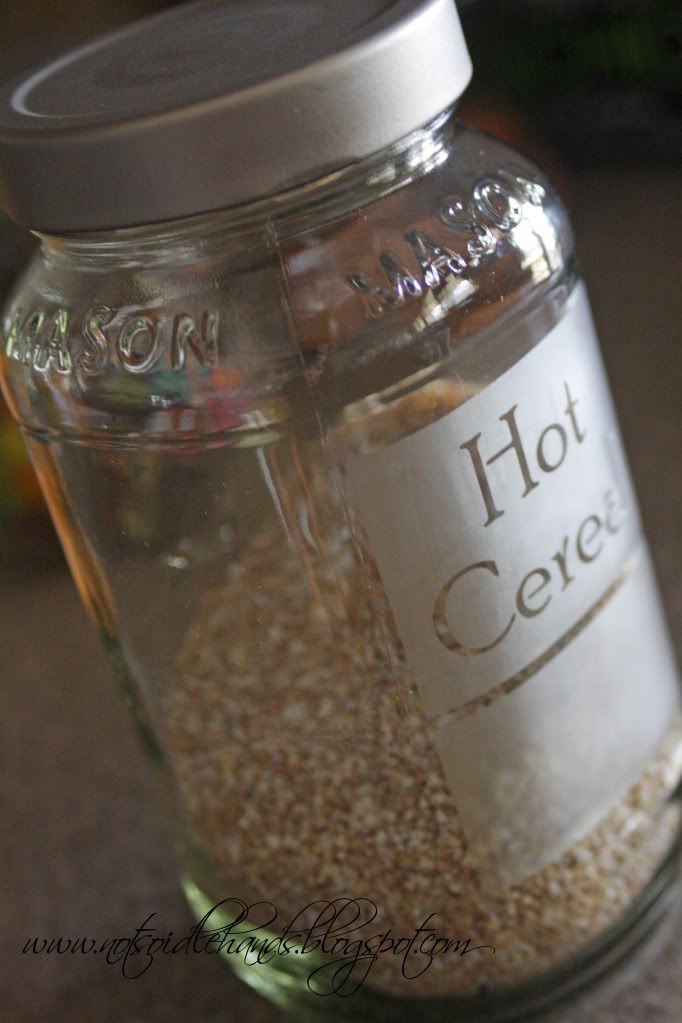
Now, just add your goodies, and.....
Ta-Da!!!
Now, your pantry can be cute like Martha's, but for wwwaaaaayyyyyy cheaper :)
Have fun!
•••
~Thanks again Emily!~
Don't forget to head over to Emily's Site if you haven't done so already!
 To have your ideas featured on Crazy Domestic, click HERE

Oh YAY! I love recycling & glass etching!! I did a vase last year for part of a wedding gift. I blogged about how to etch glass but my pictures aren't as good as this! And I did mine before i got my Silhouette machine so it took longer and I gave up on doing many more lol Thanks for the reminder that I can do this with that machine!! Yay!
ReplyDelete-Kristi
@ Creative Kristi
What a great idea, I LOVE them. I think I will start collecting jars, thanks for the idea!!
ReplyDeleteThis is perfect for some jars i just re-used to put my various sugars in. No idea where i can get my hand on the products you used as i guess they maybe American but will keep my eyes peeled.
ReplyDeleteLove this idea. So cute!
ReplyDeleteThese turned out so cute! Thanks for sharing the how-to!
ReplyDeleteI love that! So cute! Thanks for sharing!
ReplyDeleteI LOVE THIS!!!
ReplyDeleteGreat explanation of how to etch and such a great way to recycle those jars!
ReplyDeleteThose turned out super cute.
ReplyDeleteWhat a great idea! I have some etching cream and a whole bunch of mason jars. Woohoo!
ReplyDeleteThanks for sharing.
I'm excited to see other uses for etching cream. I've had some for years after doing the bottom of my casserole pans. What a great idea.
ReplyDeleteApril @ homehinges.com
This is JUST what I have been looking for! Can't wait to try it. Thanks.
ReplyDeleteThose are too cute! And I love that you don't need a fancy cutting machine to make them!
ReplyDeleteTara
www.tarabeingtara.blogspot.com
how did you get the stubborn label glue off of the glass?
ReplyDelete